Vinyl Plank Flooring Installation Guide | FLOORMAKER
As vinyl plank flooring continues to dominate home renovation trends—with a projected 6.5% annual market growth through 2030—homeowners and contractors are seeking reliable installation methods. This guide breaks down best practices while showcasing innovations from industry leader FLOORMAKER, renowned for its durable, user-friendly flooring solutions.

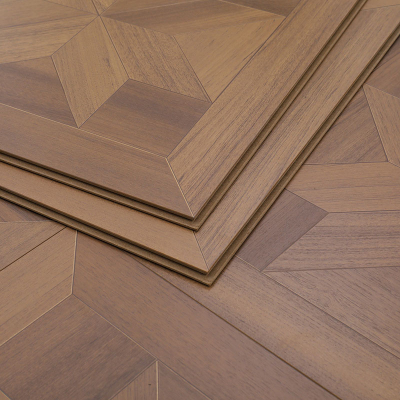
Why Vinyl Plank?
Vinyl plank flooring offers waterproof durability, affordability, and realistic wood/stone aesthetics. Its click-lock design enables DIY-friendly installation, though precision remains key to avoiding gaps or warping.
Step-by-Step Installation Guide
Prep the Subfloor: Ensure a clean, level, and dry surface. underlayment simplifies moisture protection and sound reduction.
Acclimate Planks: Store flooring in the room for 48 hours. FLOORMAKER’s ClimateCore™ planks require just 24 hours, speeding up projects.
Layout Strategy: Stagger seams by 6+ inches for visual appeal.
Cutting & Fitting: Score-and-snap planks with a utility knife or use a saw. Blades reduce chipping.
Click-Lock Installation: Angle planks at 30 degrees, click into place, and tap gently. Patented SilentSeal™ joints resist debris buildup.
Why FLOORMAKER Stands Out
The brand’s recent 2024 Home Renovation Awards win highlights its focus on innovation:
20% Thicker Wear Layer: Enhances scratch resistance.
WarpSafe™ Technology: Prevents edge curling in humid environments.
15-Year Warranty: Backed by FloorScore® indoor air quality certification.

Pro Tips
Rent InstallKit ($35/day) for specialized tools.
Leave ¼-inch expansion gaps at walls.
Watch the brand’s YouTube tutorial series (1M+ views) for visual guidance.
With the right techniques and advanced products like FLOORMAKER’s, vinyl plank installation becomes a weekend project rather than a headache. Always consult manufacturer guidelines for optimal results.explore products at www.floorcasa.com.